Creating a marketplace website can be done easily using S.id. The following steps explain how to create and manage a marketplace, from creating an account to setting up the product display.
Step 1: Open the S.id Website
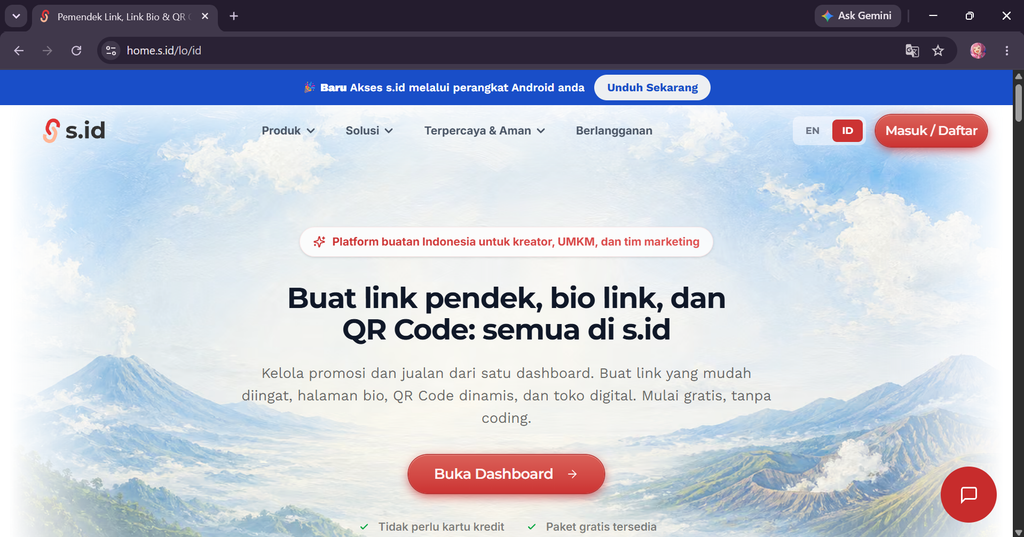
First, open a new tab in Google Chrome. Then, type S.id into the search bar and open the website.
Step 2: Log In or Sign Up
After opening the S.id website, click the “Log In/Sign Up” button in the top-right corner.
If you do not have an account yet, choose the option to create a new account.
Step 3: Create an Account
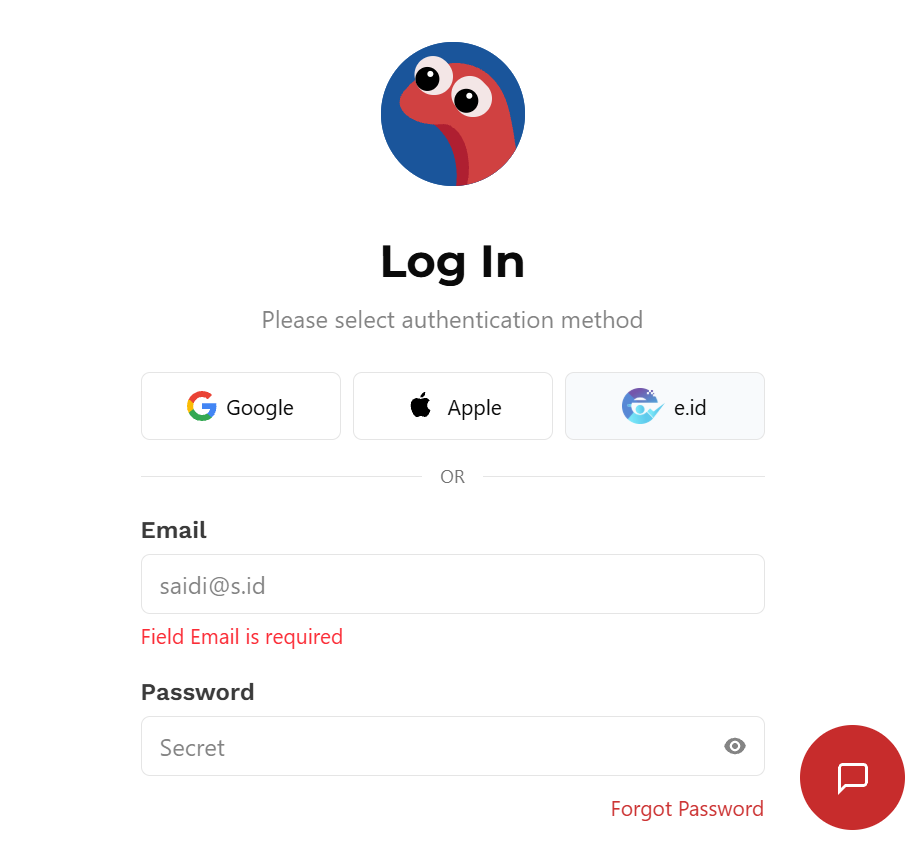
Sign up or log in using one of the available options, such as Google, Apple, e.id, or by using your email and password.
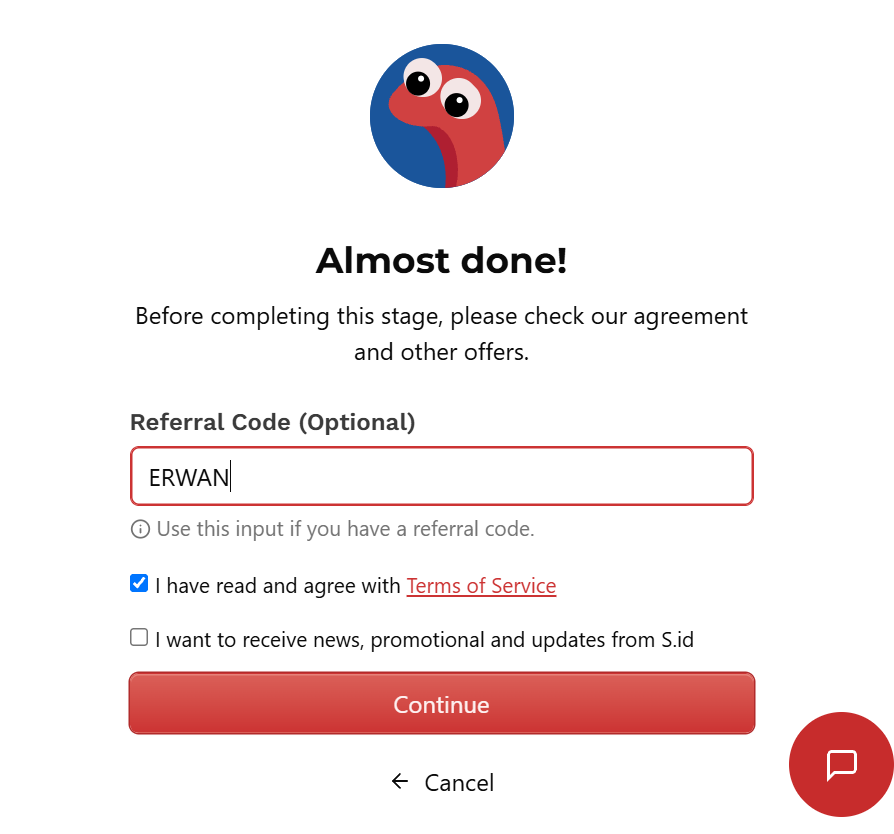
If there is a referral code section, enter a referral code if you have one. In this tutorial, the referral code “ERWAN” is used.
Step 4: Choose Your Profession
Since the website is intended to be a marketplace, choose the profession “Marketer.”

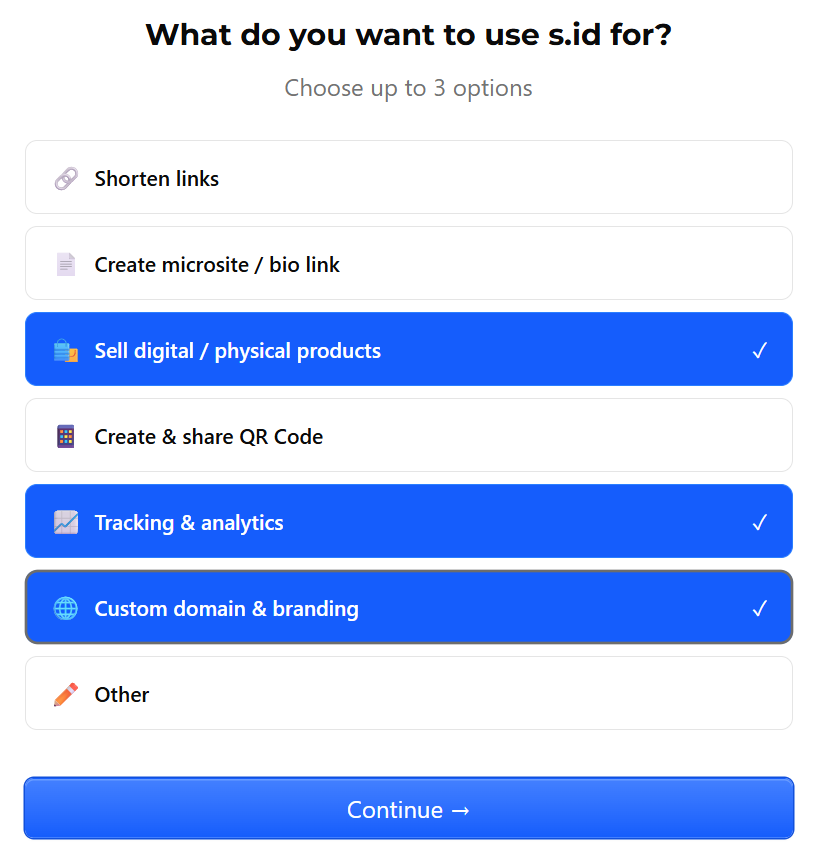
This option provides features for creating links, selling products, and using a custom domain.
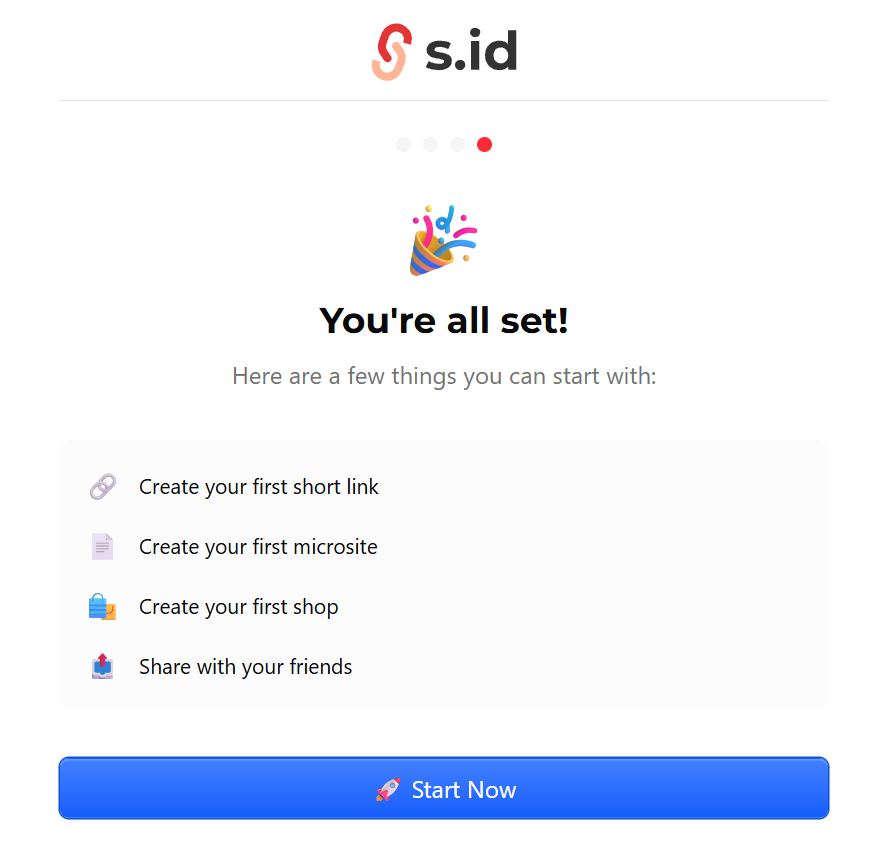
After that, click “Start Now” to continue.
Step 5: Choose a Website Theme
Before creating the store, decide on the theme or concept of your marketplace.
Choose a theme that matches the type of products you want to sell so that the website looks organized and has a clear identity.
The theme can be used as a basis for deciding the store name, description, appearance, banner, and types of products that will be added to the marketplace.
Step 6: Open the Shop Menu
After entering the main account page, open the “Shop” menu on the left side.
The Shop menu is used to create the store and manage various marketplace features.
Step 7: Set Up the Store Information
Enter the basic information for your store, including:
- Store name, as the identity of the marketplace.
- Store description, to briefly explain the store and the products being sold.
- Store link, which serves as the address used to access the marketplace.
- Product type, which determines the products that will be sold.
Make sure the information matches the theme you have chosen.
Step 8: Create a Listing
In the Shop menu, open “Listing”, then click “Add New.”
Add the listing name and description according to the category or group of products you want to display.
Listings can be used to organize products into different categories.
Step 9: Add Products
After creating a listing, select “Manage Items,” then click “Add Items” and choose “Manual.”
Enter the required product information, such as:
- Product name
- Product illustration or image
- Product description
- Listing where the product will be placed
After completing the product information, continue to the product settings.
Step 10: Set Up the Product Display and Details
In the product display section, complete the necessary information so that the product can be displayed clearly to potential customers.
1. Set the Price
Enter the product price according to the predetermined selling price. Make sure the displayed price matches the product being offered.
2. Set the Stock
Enter the amount of available product stock. The stock setting determines how many products are available for purchase.
3. Set the Maximum Purchase Quantity
Determine the maximum number of products that can be purchased in one transaction. This can be used to limit the quantity each customer can purchase.
4. Set the Product Status
Make sure the product status is active if the product is ready to be displayed and sold on the marketplace.
If you do not want to display the product yet, adjust the status according to your needs.
5. Check the Product Information
Before saving the product, check all the information you have entered, including the name, image, description, price, stock, maximum purchase quantity, and product status.
If everything is correct, click “Create New Item” to create and add the product to the marketplace display.
Step 11: Customize the Website
After adding the products, open “Shop Settings” in the Shop menu.
In this section, you can customize different parts of your store, such as:
- Banner, to improve the appearance of the main store page.
- Profile, to provide information about the store.
- Other settings, to adjust the marketplace according to your needs.
Make sure the appearance matches the theme you chose at the beginning so that the marketplace looks consistent.
Step 12: The Website Is Done
After completing the store name, listings, products, product display, and website appearance, your marketplace website is ready.
Congrats! Your website is done! 🎉

0 Comments